
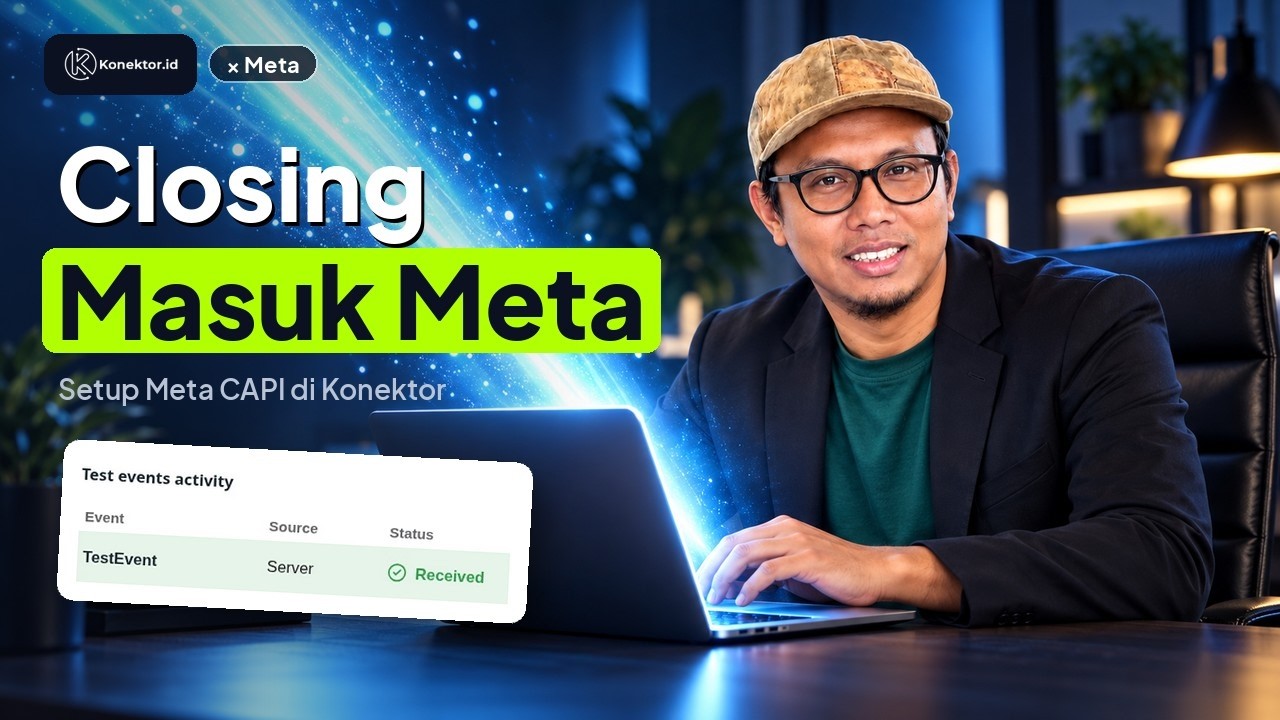
How to connect Meta Pixel and Conversions API to Konektor in 1 minute (Indonesian narration)
How to connect Meta Pixel and Conversions API to Konektor in 1 minute (Indonesian narration) • 0:58
Tonton di YouTubeMeta Conversions API (CAPI)
Meta Conversions API (CAPI) is an essential tool for modern advertisers. This feature allows you to send conversion data (like Leads, Purchases) directly from the Konektor server to Meta, bypassing the user's browser.
A summary of the events, requirements, and limits for sending to Meta is in Meta ads tracking software.
Why You Must Use CAPI?
Regular browser Pixel is becoming increasingly inaccurate due to:
- Ad Blockers: Extensions like uBlock Origin block pixels.
- Browser Privacy: Safari (ITP) and Firefox limit cookie lifespan.
- Unstable Connections: Slow page loading can fail to trigger the pixel.
- iOS14+: Tracking Transparency (ATT) makes app/web tracking difficult.
CAPI sends events from the server, which reduces dependence on browser delivery. Actual results depend on data quality, configuration, and Meta policies.
Setup Requirements
Before starting, ensure you have:
- Admin access to Meta Business Manager.
- A Meta Pixel already created.
- Admin access to Konektor Dashboard.
URL Parameters Template (Meta Ads)
Meta supports auto-tagging for IDs like campaign_id, adset_id, and ad_id. Add name snapshots for stable historical reporting and use official macros from Ads Manager.
Recommended Template (UTM + Stable IDs):
utm_source=meta&utm_medium=paid&utm_campaign={{campaign.name}}&utm_term={{adset.name}}&utm_content={{ad.name}}&campaign_id={{campaign.id}}&adset_id={{adset.id}}&ad_id={{ad.id}}&campaign_name={{campaign.name}}&adset_name={{adset.name}}&ad_name={{ad.name}}&site_source_name={{site_source_name}}&ad_meta={{placement}}&ad_account_id=YOUR_AD_ACCOUNT_ID
Fill ad_account_id with your ad account ID.
Important Note
If you fill the URL Parameters field in Meta Ads, do not add the question mark (?). Meta will append it automatically.
Meta macros such as {{campaign.name}} work only in the URL Parameters field of an ad. Meta does not fill them anywhere else.
Meta Dynamic Macros
| Macro | Description | Example |
|---|---|---|
{{campaign.name}} | Campaign Name | Eid_Promo |
{{adset.name}} | Ad Set Name | Java_Bali_25-50 |
{{ad.name}} | Ad Name | Testimonial_Video_1 |
{{placement}} | Placement | Instagram_Stories |
{{site_source_name}} | Source Platform | fb, ig, an, msg |
How to Get CAPI Token
- Open Meta Events Manager.
- Select the pixel you want to use. Copy its ID from the Dataset ID field.
- Go to the Settings tab.
- Scroll to the Conversions API section, then to Set up direct integration.
- Click Generate access token.
- IMPORTANT: Copy and save this token in a safe place (Notepad/Password Manager). Meta will not display this token again.
Integration in Konektor
- Sign in to the Konektor dashboard.
- Open Tracking & Ads > Website Tracking.
- Click Add ad platform.
- At Where do your ads appear?, select Meta Ads (Facebook and Instagram).
- Enter a Pixel Name, for example
Main Pixel. - Enter the Meta Pixel ID, digits only. The Test Event Code is not a Pixel ID.
- Paste the token you copied into the Access Token field.
- Click Save. The status shows Waiting for events until the first event from your website arrives.
- To test now, open the menu on the Meta row and select Test send. Paste the Test event code (Test Event Code) from Meta Events Manager > Test events. This code is required for Meta. Then click Send test. The result shows as Test passed, not Healthy. Healthy appears after real events arrive.
Why is my Pixel ID rejected?
One Pixel ID can exist in only one workspace. Konektor rejects a Pixel ID that is already in use elsewhere. The message shows one of these three cases:
- Already in this workspace: edit the pixel that is already in the list. Do not add it twice.
- In another workspace that you own: Konektor offers Move to this workspace. After the move, the old workspace stops sending conversions to that pixel. If your website uses the tracking code, replace it with the code from this workspace. To move it, use Add ad platform.
- In someone else's workspace: ask the owner of that workspace to remove the pixel, or send a ticket in Help > My tickets.
What does the Waiting status mean in Website Tracking?
The Waiting for events status means the pixel is on, but no real event arrived in the last 7 days and no send test passed. This status is normal right after you save the pixel.
- Send a real event from your website or from an ad chat, or use Test send in the Meta row menu.
- A send test that passes changes the status to Test passed.
- The Healthy status appears after a real event arrives within the last 7 days.
Setup for Click-to-WhatsApp (CTWA) Ads
CTWA uses a WABA dataset and permissions that differ from the CAPI token for a website Pixel. Do not paste a CTWA token into the Access Token field.
Connect the WhatsApp number that receives the lead. Open Connection > Numbers & CTWA, select Set up CTWA or Manage CTWA, enter the WABA ID, then click Log in with Meta. Follow the Meta CTWA guide for the complete steps. The difference between the chat route and the website route is in WhatsApp CAPI software.
If the Delivery log shows CTWA backup, check the connection under Connection > Numbers & CTWA > Manage CTWA. Run Check connection, then create one new conversion. Meta event acceptance does not guarantee that Ads Manager will report or attribute it.
What Data is Sent?
Konektor automatically sends the following standard events based on lead status:
| Lead Status | Meta Event |
|---|---|
new | Lead |
qualified | InitiateCheckout |
won | Purchase |
resubscribed | Subscribe |
Matching Quality
For CAPI events to match with Facebook users, we send hashed (SHA256) user data such as Email (em), Phone (ph), First Name (fn), and City (ct).
Event Deduplication
If you have both Browser Pixel and CAPI installed, Meta may receive 2 events for the same occurrence (Double Counting).
Konektor sends a unique event_id for server-side events. Browser and server deduplication only works when your browser-side event also sends the same event_id. If the browser event uses a different ID, Meta will treat them as separate events.
For Click-to-WhatsApp flows, ctwa_clid is treated as webhook-derived data from WhatsApp / ad metadata, not as a normal browser-tracked parameter.
Why are my events not showing up in Events Manager?
The most common issue is blocked events because the domain hasn't been added to Meta's Allow List. You might see a warning like:
If an error has been detected in the last 3 days it will appear here... Domain(s) recently started sending data. Confirm that they're yours by adding them to allowlist.
Solution:
- Open Settings in Meta Events Manager.
- Scroll down to the Traffic Permissions section.
- Check the Allow List section.
- Select your domain, then click Add to Allow List.
- Click Confirm.
Once your domain is whitelisted, events will start flowing normally.
Why is my custom event blocked by Meta?
An event with your own name, for example SpamLead from the class k-event-SpamLead, can stay blocked by Meta until the business owner confirms it. While it is blocked, you cannot use it for a custom conversion, a custom audience, or ad optimization. Standard events such as Lead or Purchase do not fall under this rule.
Prerequisite: your Facebook account has full access to that pixel in the owner's Business Manager.
Solution:
- Open Meta Events Manager, then click Datasets in the left menu.
- Select your pixel, then open the Settings tab.
- Scroll to Data restrictions. Under Manage event blocking, click Review.
- If the Acknowledge to continue dialog appears, read it, then click I acknowledge. You declare that you only send data that follows Meta policy: no health data, no financial data, and no other sensitive data, the event name included.
- On the Action required tab, tick the event name that you recognize, then click Next.
- Check the event name and the pixel name in the Event details dialog. Select Confirm the custom event, then click Confirm.
- Click Done. The event moves to the Confirmed tab with the status Confirmed by you.
Confirm only the events you recognize
When you click Confirm, your business declares to Meta that your system sends this event and that it follows Meta policy. If an event name is unfamiliar, ask your ad manager first.
Notes:
- This process does not ask for an event category. Select Confirm the custom event only.
- Inactive under an event name means the event did not arrive recently. The status changes again after the event arrives.
- Did you block the wrong event? Open the Blocked tab, open that event, then request a review from Meta.
- A button that you cannot click means your access to the pixel is not sufficient. Ask a Business Manager admin to give you full access to that pixel.
Do standard events need confirmation too?
No. The rule covers event names that you invented. Standard events such as Lead, Contact, and Purchase are already known to Meta, so you can use them for a custom conversion and for ad optimization immediately.
What is the difference between a custom event and a custom conversion?
A custom event is the name of an action your system sends. A custom conversion is a rule you build on top of that event, for example counting only the Lead events that come from one page. One event can feed many custom conversions, and you can only build the rule after the event is no longer blocked.
Next Steps
Need More Help?
Our team is ready to help you maximize ad tracking and business attribution.
Wulan answers your questions and sends tutorial videos. Session scheduling is available through Wulan if you still need it.
© 2026 Konektor. All rights reserved.